I recently obtained the Aufero Laser 2, which is a low-cost laser cutter and engraver. This laser cutter must be assembled, but doing so only takes 10-20 minutes. It took me about 20 minutes without having looked at the directions ahead of time. Once assembled, you need to connect it to your computer via a USB cable (included) to both configure and operate the laser cutter. Unlike most 3D printers, you must have a computer hooked up to the printer in order to operate it. I used my MacBook Pro, but any PC/Mac/Linux computer will work. You could attach a Raspberry Pi type of Linux-based computer to the printer if you want to avoid attaching your primary computer to the cutter.

The image above shows most of the main parts that come with the kit.
Here is a top-down view of the assembled laser cutter.

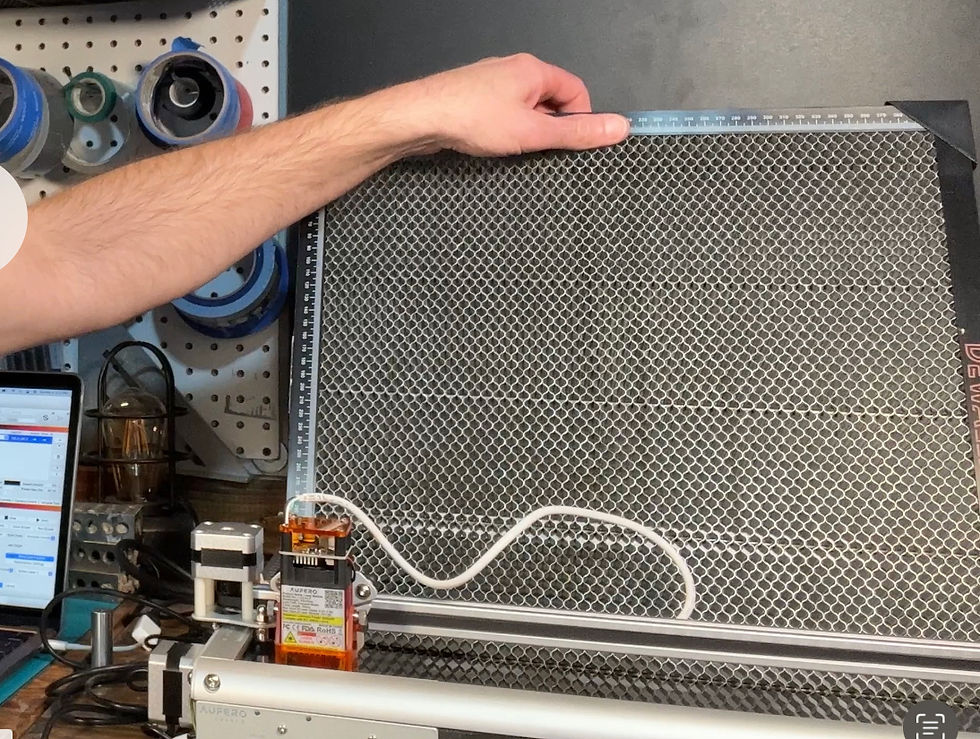
This laser cutter doesn't come with an enclosure nor a laser cutting platform or base, so this unit really needs to be used in a garage or workshop with good ventilation since a fair bit of smoke will be generated when cutting wood.

I bought the above laser cutting platform on Amazon. This is the one that I purchased: https://amzn.to/3ZLnITt although you can buy a slightly more expensive one as an optional accessory when buying the laser cutter.
The Aufer Laser 2 ships with three different laser options you can choose from, along with an optional, but more expensive, 10 watt laser. The higher powered laser will allow you to cut through materials faster and also allow you to cut thicker materials with a single pass. I used 3mm Baltic birch plywood for my initial projects, and the laser was able to easily cut through the panels at 80% power when moving at a speed of 150 mm per minute.

The above images and description come from the manufacturer. The highlighted option above is the one that I obtained with my cutter. Besides the other two options, you can buy a higher power 10 watt laser.

Once you have the laser cutter assembled, you need to attach it to your computer and install software to run the laser cutter. Different software options are available but I chose to use LightBurn, since it is available for MacOS as well as Windows and Linux.

For my first project, I imported a PNG image of my Steve's Trains logo, added a circle around it on a different layer, and then set the laser to engrave the logo and cut when doing the circle. This is simply done by making the laser move fast enough and at low enough power to not cut when doing the logo, but then having it go at higher power and a slower forward speed when tracing out the circle, such that the laser would cut through the wood. This worked out great, and I essentially made a wood coaster (to which I applied some wood stain and varnish) for my desk.

Here are the settings I used for engraving and cutting out my logo in the 3 mm thick birch plywood panel I had on hand.


Next, I used simple shapes in LightBurn to create tunnel portals and retaining walls for the 2x4 foot N scale project layout I'm currently working on. I took the measurements from the layout, and then adjusted the shapes in LightBurn to match the measurements. I was then able to quickly cut out two tunnel portals and all the retaining wall panels for the lower level. I'll eventually finish these to make them look like concrete.


The above images show how I drew the tunnel portals with simple geometric shapes in LightBurn and then cut them out using the laser cutter. The images below show the tunnel portals and retaining walls arranged on the N scale project layout. These will eventually be finished to look like concrete and then installed in the locations you see in the images. The tunnel portals and retaining walls are just propped up and are not yet glued in place, so the seams will all be even and tighter once installed.


The retaining walls help to hide the seam that is created by the hinged upper-level of the layout. I'll also add similar retaining walls and tunnel portals on the second and third levels of the layout.
Anyway, the Aufero Laser 2 is a great low-cost laser cutter for the hobbyist. It isn't nearly as powerful as higher end lasers cutters, nor does it come with as many features, but for hobbyist use it works out great. If you want a laser cutter for higher volume production then you would be better off buying a more powerful laser cutter that would be able to cut faster. But, the Aufero Laser 2 is a great option for personal use. It should help me to work through some projects much faster and I'll eventually try cutting out some T-Trak modules and the frames and bases of small micro layouts with this cutter. Eventually, I'll try laser cutting structures out of basswood and the like as well, once I get better at designing them.
If you are interested in buying the laser cutter, you can use the link below along with the following discount code.
Buy the Aufer Laser 2 here: https://s.zbanx.com/r/r5oSPvQGsUhW
Discount code: Use code “AL50” to get $50 OFF.
Here is the link to the LightBurn website where you can download a trial of the software.
LightBurn Software: https://lightburnsoftware.com
You can watch the video review of the laser cutter below.
Comments